# How to create an App in Azure AD (SAML, SSO)
In order to sign in with our Microsoft Accounts into our own custom applications we need to create an "Enterprise application" based on an "App registration" to create a SAML Endpoint.
# Pitfalls ahead!
There are several ways you can approach the creation, but most will result in an undesired state with no practical use for our custom application. This document outlines the one way we found someone could create a working app. Follow it thoroughly!
# Creating the app
Head over to the Azure Portal (opens new window) and sign in with an user with sufficient privileges
Navigate to
Enterprise applications(if not visible try the search field in the header navigation bar)
Click on
New application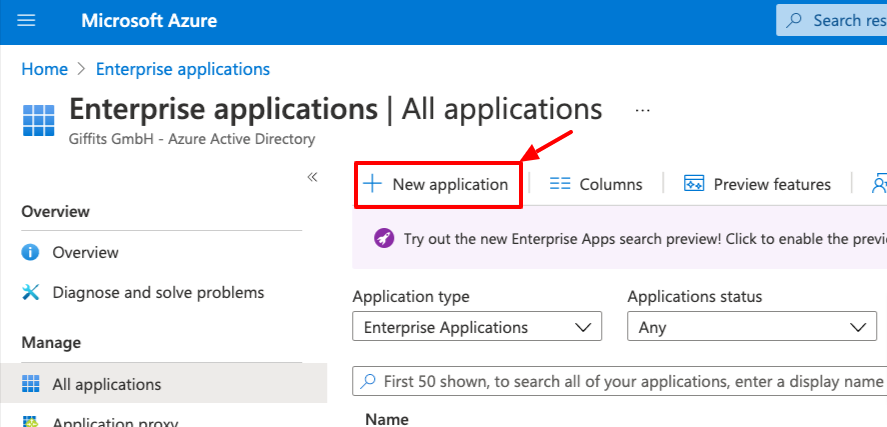
Click on
Create your own application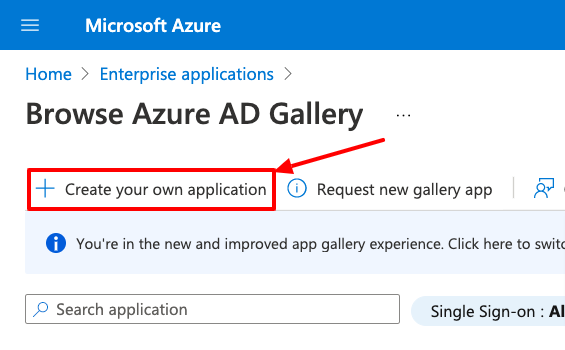
Enter a name for your application and make sure
Integrate any other application you don't find in the gallery (Non-gallery)is selected!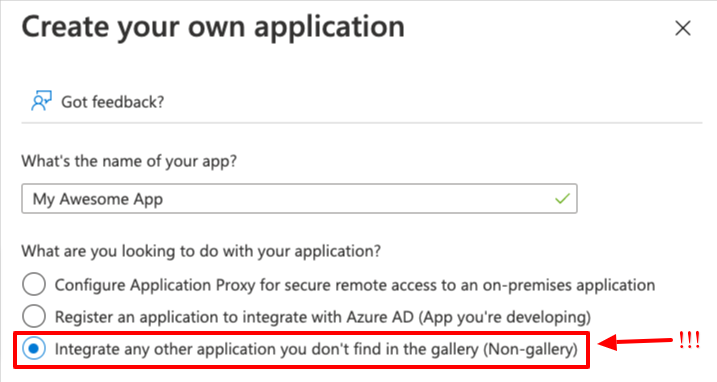
Click the
Createbutton
# Configure Single sign-on (client)
We will use AWS Cognito as an example here. Other clients should work alike.
In
Enterprise applicationsearch for the app you've just created and click on it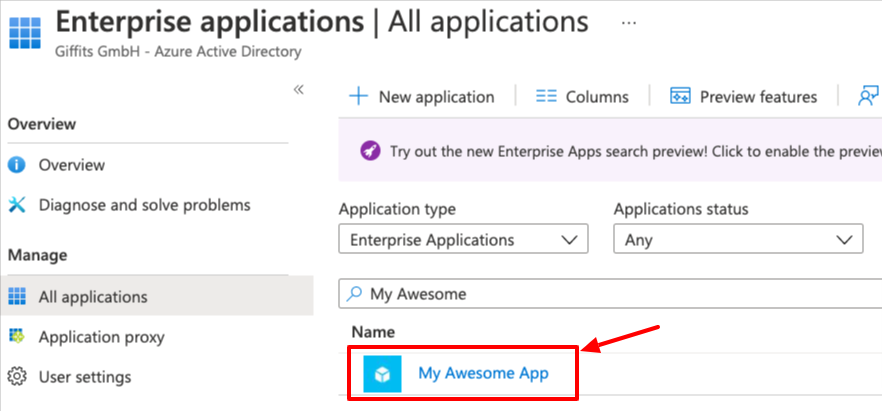
Click on
Single sign-onin the menu on the left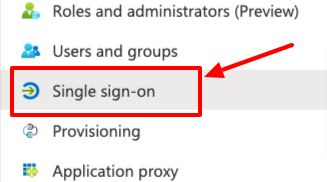
Click on
SAML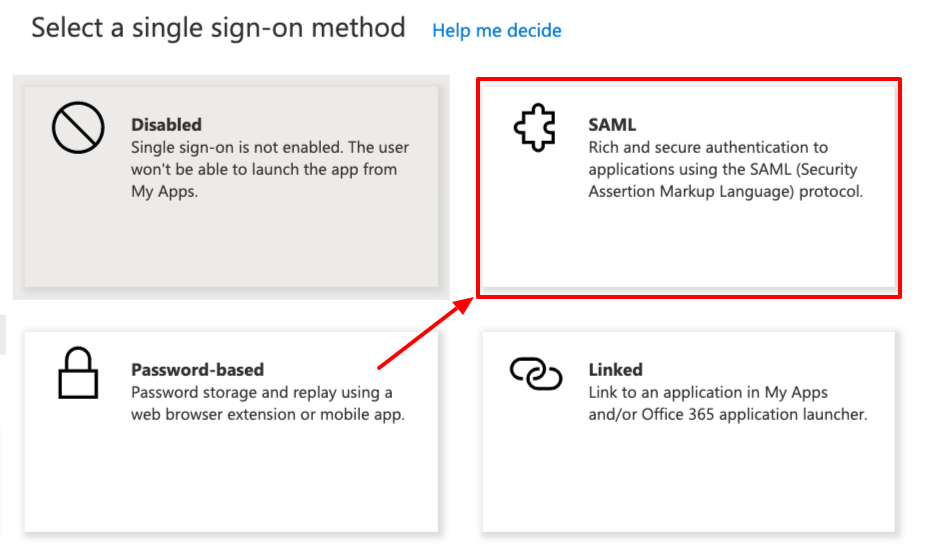
- Click on
Editin theBasic SAML ConfigurationCard
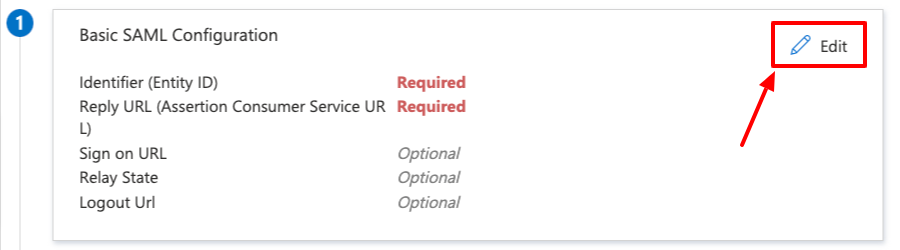
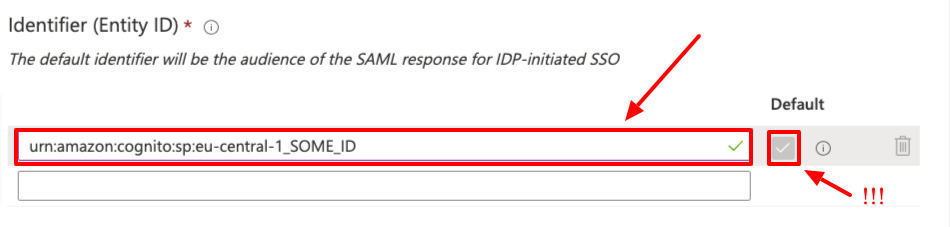
- Enter the
Identifier (Entity ID). For AWS Cognito you will need to use the UserPool ID as shown below.
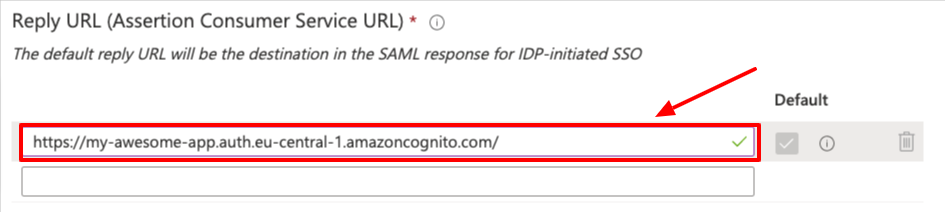
- Enter the
Reply URL. In this case it's the AWS Cognito endpoint.
- Click on
save

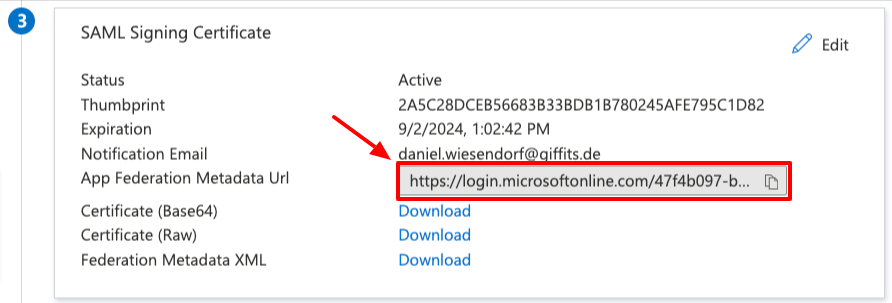
- Click on
It might be wise to copy the Metadata URL now as you will need it to configure the identity provider in cognito
# The security group "hack"
A security groups are used to assign users to an application. Easily granting access by adding a user to a group instead of the app directly.
Our License with Microsoft actually does not allow us to assign users to an app via a user group. You simply can't add a group in the dialog.
But it is still possible to get one (and or more) groups in there. When using the Self-service option a user can request or directly get access
to an app which has Self-service enabled. Microsoft adds the user to a group automatically. This group naturally needs to be able to use the app, right!?
- The result: Microsoft adds the group automatically even tho the license does not allow it, technically.
- Now the fun part: The added group will be retained even if the
Self-serviceis disabled again. - Phase 3: Profit!
# Create a new group
Navigate to
Groups(if not visible try the search field in the header navigation bar)
Click on
New group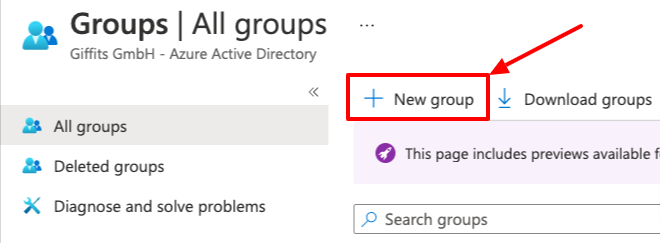
Fill in the
New groupform- Enter a group name
Note: As per convention our groups used for permissioning purposes should be prefixed with
sec.followed by the application provider.giffits.for apps we've developed. E.g.sec.giffits.my-awesome-app- Enter a useful description
- You do not need to set owners actually
- Add members you already know will need access to your application

Click the
Createbutton
# Configure the group via "the hack"
Make sure you have configured Single sign-on (see above)
In
Enterprise applicationsearch for the app you've just created and click on itClick on
Self-servicein the menu on the left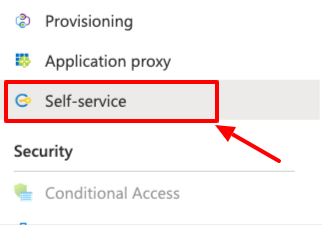
Set
Allow users to request access to this application?toYesand click onSelect group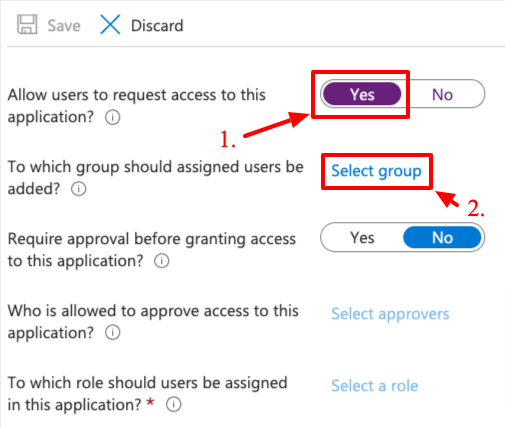
Search for and select the group created earlier
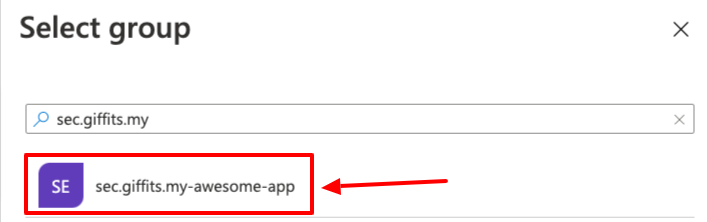
Click on
Select
Set
Allow users to request access to this application?back toNoand click onSave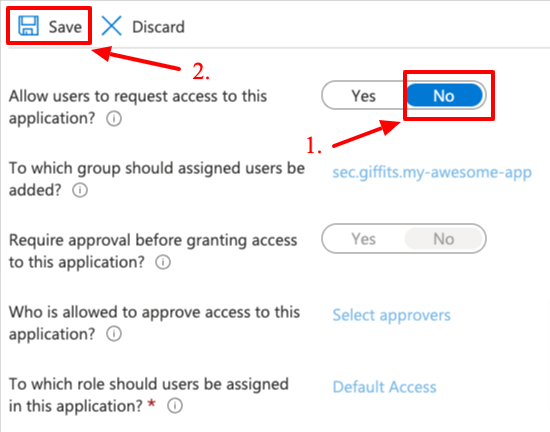
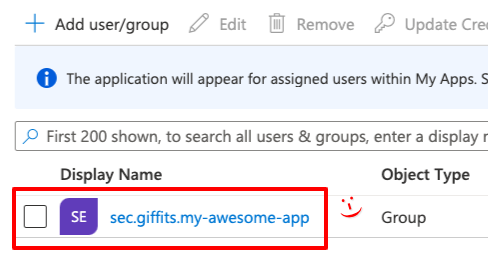
To verify the group has been added click on
Users and Groupson the left
The list should contain the group now!